The Dinner Party That Taught Me Everything
I threw a dinner party in my mid-twenties that I still use as a reference point for how not to light a room.
Everything else was fine. The food was decent. The wine was good. The apartment was clean in the specific way that apartments are clean when someone is coming over — surfaces cleared, things hidden in closets, the bathroom given attention it normally doesn’t receive. By every measure I could control in advance, the evening should have been warm and social and memorable in the right ways.
The lighting was whatever the apartment came with. A ceiling fixture in the living room — a glass bowl flush mount that distributed even, moderately bright light across every surface equally. A pendant above the dining table that was positioned for the previous tenant’s furniture arrangement and therefore hung three feet to the left of where my table actually was, illuminating a stretch of empty floor rather than the table and the food on it. A lamp in the corner that I turned on because I thought more light was better.

I noticed the problem when I looked at a photograph from that evening a few days later. Everyone in the photograph looked vaguely clinical. The food on the table — which I remembered as looking quite good — looked flat and uninviting in the image. The room looked like an office after hours: functional, illuminated, and completely without warmth.
I had been in the room the whole evening and hadn’t consciously noticed any of this. But looking at the photograph I saw immediately what the photograph was showing me: the light was wrong in a way that made the evening look wrong in the record it left behind. Not ruined — just flatter and less warm than the evening actually felt. And the evening felt only moderately warm, which I’d attributed to the guest list and was now reconsidering.
A few months later I went to a dinner party in a different apartment. Similar size, similar furniture, roughly similar level of effort on the host’s part. But the room was different in a way I noticed immediately when I walked in: it felt like somewhere. Not brighter than my apartment and not darker — different in quality rather than quantity. Warm in a specific way that made people turn toward each other rather than toward the wall.
I spent most of that evening trying to figure out what the host had done. The answer, when I finally looked carefully enough to see it, was not dramatic: several light sources at different heights, all of them warm, none of them overhead as the primary source, the dining table properly lit from directly above it. The room was layered. My apartment had been flat. The difference between the two was entirely in how the light was distributed.
That observation led to about a decade of paying close attention to how lighting works in rooms, why it works when it does, and what the specific decisions are that produce light that feels designed rather than installed.
This article is the distillation of that decade.
What Lighting Layers Actually Are
Before the how, a clear definition — because “layered lighting” is one of those design phrases that gets used frequently and explained with different meanings by different sources.
Layered lighting is the practice of using multiple light sources at different heights, with different functions, at different brightness levels, to create an environment where light has variety and depth rather than uniformity.
The three-layer system that most designers and lighting professionals use as a framework:
Ambient lighting is the base layer — the general illumination that fills a room with enough light to move around, see objects, and perform general tasks. In most rooms this is the overhead fixture: a ceiling-mounted source that distributes light broadly. Ambient lighting on its own produces flat, even, uniform illumination. It is functional and insufficient.
Task lighting is the directed layer — light placed specifically to illuminate the activities that happen in a room. Reading lights beside chairs and sofas. Under-cabinet lights above kitchen counters. Desk lamps at work surfaces. Vanity lights in bathrooms. Task lighting puts appropriate light where activities happen without requiring the whole room to be at task-light brightness levels.
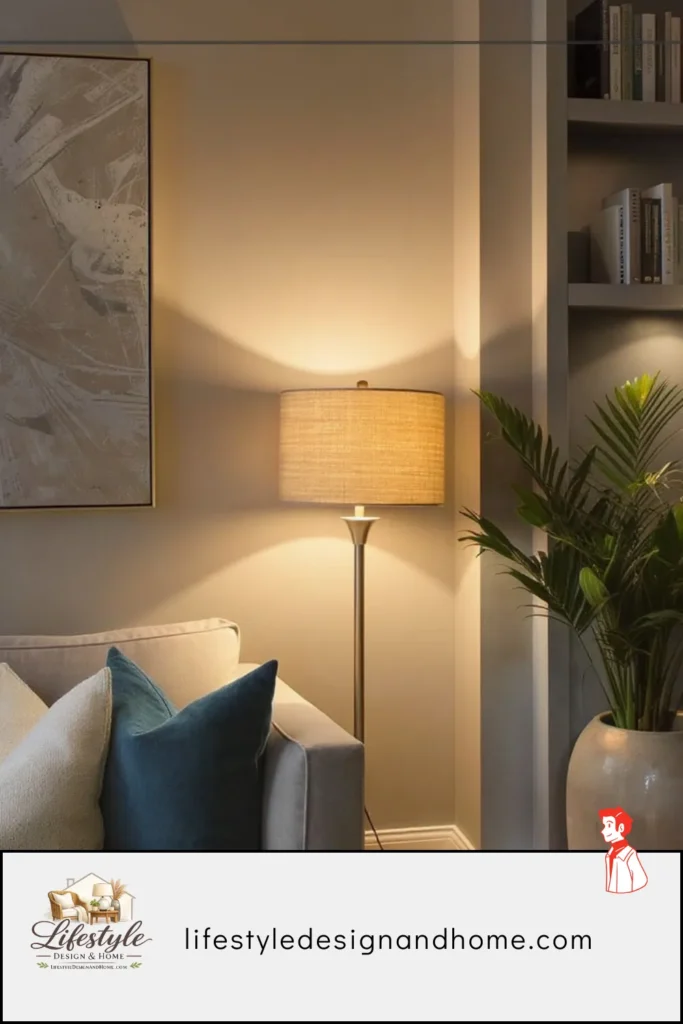
Accent lighting is the atmospheric layer — light used to create mood, highlight specific elements, add visual depth, and give the room the quality of being considered rather than simply illuminated. Picture lights above art. LED strips behind a sofa or under floating shelves. A floor lamp in a dark corner. Candles on a table. Accent lighting does not primarily illuminate — it enriches.
The distinction between these layers is not rigid in practice. A floor lamp in the corner is simultaneously accent lighting (adds atmosphere) and ambient lighting (contributes to the room’s general illumination). A bedside lamp is simultaneously task lighting (for reading) and accent lighting (warm light contributing to the room’s evening atmosphere). The categories are tools for thinking rather than precise classifications.
What matters is that all three functions are present in a room: general illumination, directed task illumination, and atmospheric enrichment. A room with only ambient lighting is flat. A room with only task lighting is an office. A room with only accent lighting is a nightclub. The layered room has all three in appropriate balance.
The Architecture of Light: Why Overhead-Only Fails
Understanding why single-source overhead lighting produces flat, uninviting rooms is important enough to spend time on, because the understanding changes how you approach every subsequent decision.
Overhead light comes from above. This is its defining characteristic and its primary limitation for residential use.
When light comes from directly above, it falls on horizontal surfaces — tables, floors, the tops of objects — and misses vertical surfaces — walls, faces, the sides of furniture. The room’s vertical surfaces receive little direct light and therefore appear in relative shadow. The contrast between the brightly lit horizontal surfaces and the less-lit vertical ones produces a flattening effect: the room reads as a series of horizontal planes without the depth and texture that vertical illumination creates.
The effect on faces is particularly significant for social spaces. Overhead light falls on the top of the head and creates shadows in the eye sockets, beneath the nose, and under the chin — the same lighting that makes Halloween masks look menacing. Warm light from the side or below eye level illuminates faces from directions that read as natural and flattering. This is not a trivial aesthetic observation. It affects how people feel in a room and how conversations develop.
The effect on room perception is equally significant. When all surfaces are illuminated from above at roughly equal brightness, every edge and boundary of the room is equally visible. The walls are clearly defined. The corners are clearly defined. The ceiling is clearly defined. The brain processes this uniform visibility and produces an accurate estimate of the room’s dimensions.
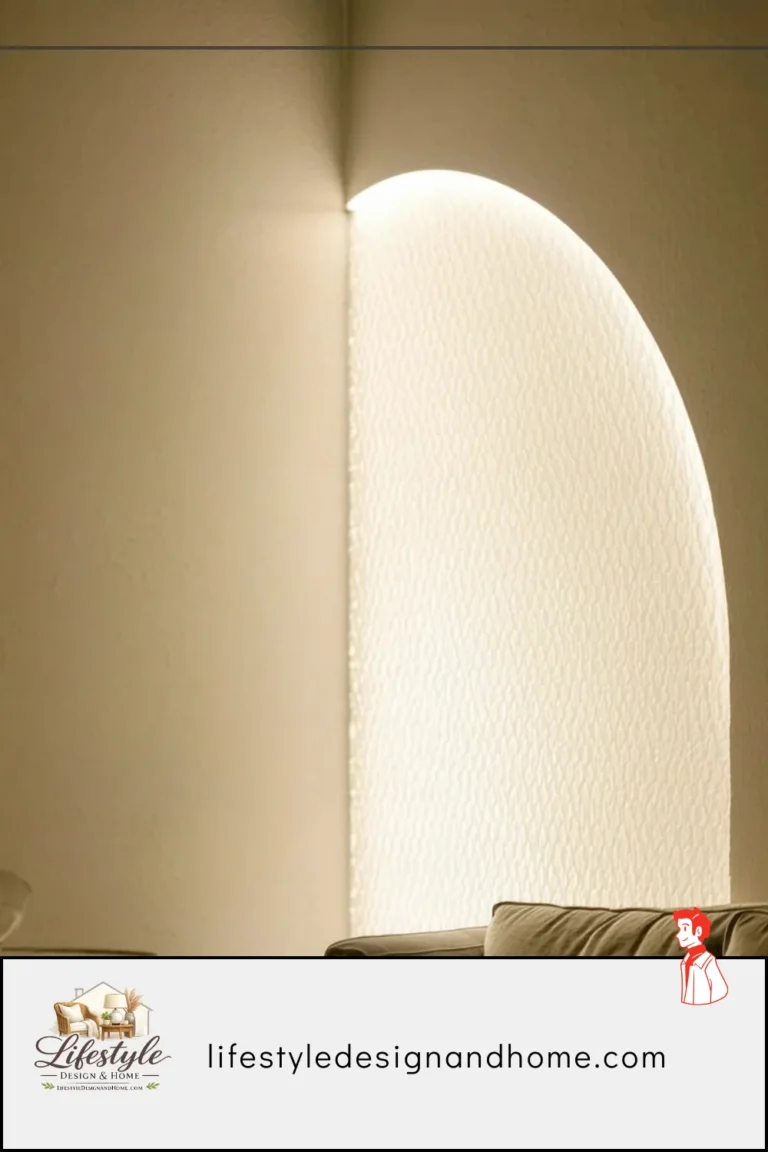
When light comes from multiple lower sources, the upper portions of the room — the ceiling, the upper walls — receive less direct light and recede slightly into comparative shadow. The room’s boundaries become less precisely defined. The brain, uncertain where the room ends, defaults toward a slightly generous estimate of its size. The room feels larger.
This is why restaurant designers dim the overheads and add table candles. Not for romance as an abstraction — for the specific visual and neurological effects of light at seated height from warm flickering sources that soften boundaries and create depth.
Layer One: Getting the Ambient Light Right
Ambient lighting is the layer most people already have — the overhead fixture — and the layer most people use incorrectly, either by making it the only source or by running it at full brightness even when multiple sources are operating.
The fundamental change that transforms ambient lighting from a problem into a foundation: the dimmer switch.
A dimmer switch — $20 to $40, fifteen minutes to install — converts the overhead fixture from a binary (on/off, one brightness or darkness) into a variable that can be tuned to exactly the contribution it should be making at any given moment. At 7 AM, full brightness for getting dressed. At 7 PM, 30 percent as a background contribution while the other layers carry the room’s illumination.
Without a dimmer, the overhead fixture is always competing with the other layers rather than collaborating with them. At full brightness, the overhead overwhelms the floor lamp and table lamp, producing the clinical flat light that ambient-only lighting always produces. Dimmed to 20 or 30 percent, the overhead becomes the room’s foundation — present, contributing general illumination, not dominating.
The color temperature of the ambient source matters as much as the dimmer. A 4000K ambient source dimmed to 30 percent is still 4000K — still cool, still slightly institutional, still fighting against the warm sources elsewhere in the room. A 2700K ambient source dimmed to 30 percent is amber and warm and compatible with the floor lamp and table lamp at the same temperature.
Replace the ambient bulb with 2700K first, then install the dimmer. These two changes together cost under $50 and take an afternoon and they establish the ambient layer correctly. Everything built on top of them works. Everything built on top of a cool, undimmed overhead is compromised.
The specific ambient sources beyond ceiling fixtures:
Recessed downlights are common in newer construction and have the limitation of being very directional — they create pools of light below them and leave the areas between them in relative shadow. For layered lighting, recessed downlights should be on a dimmer and used at low brightness as a background contribution rather than as the primary source. They are not ideal ambient sources for living rooms and dining rooms where atmosphere is the priority, though they are excellent in kitchens where task illumination over counter surfaces is the primary requirement.
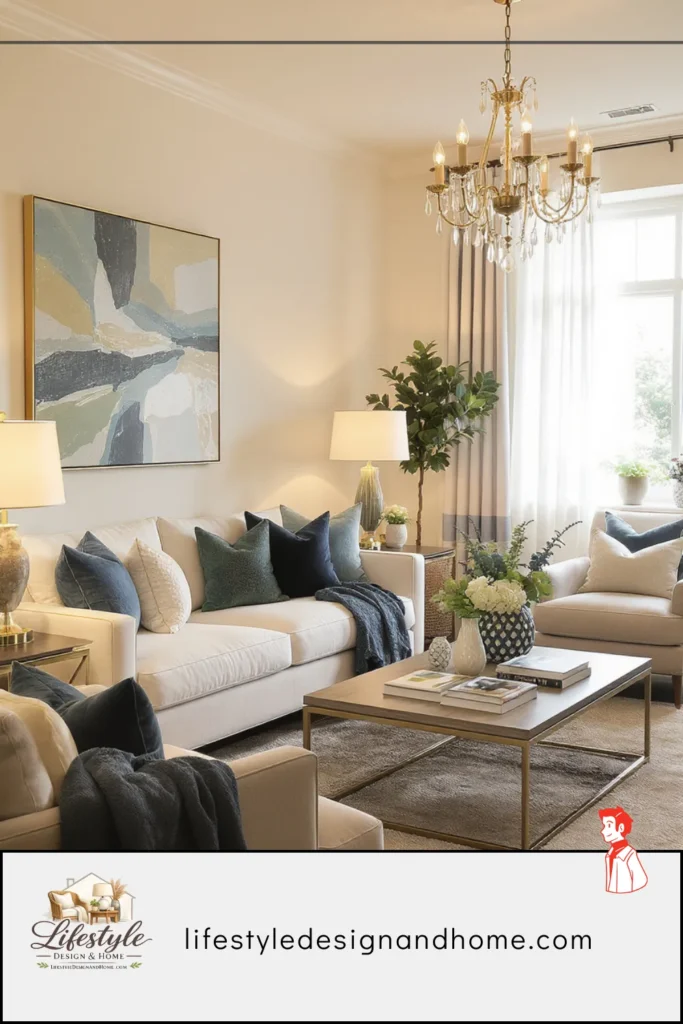
Floor-to-ceiling pendants or chandeliers are the ambient sources that contribute most positively to a room’s atmosphere, because they diffuse light in multiple directions and create a visual focal point that overhead fixtures don’t. A pendant centered over a dining table at the correct height — 30 to 36 inches above the table surface — both illuminates the table and creates a warm, centered presence in the room that fundamentally changes the dining experience.
Layer Two: Task Lighting That Disappears Into the Room
Task lighting, done correctly, disappears. The goal is not to have visible lamps beside every reading position and under every cabinet shelf. The goal is for every activity that happens in the room to have the right light, delivered without requiring the whole room to be at task-light brightness.
The specific task lighting positions that matter in each room:
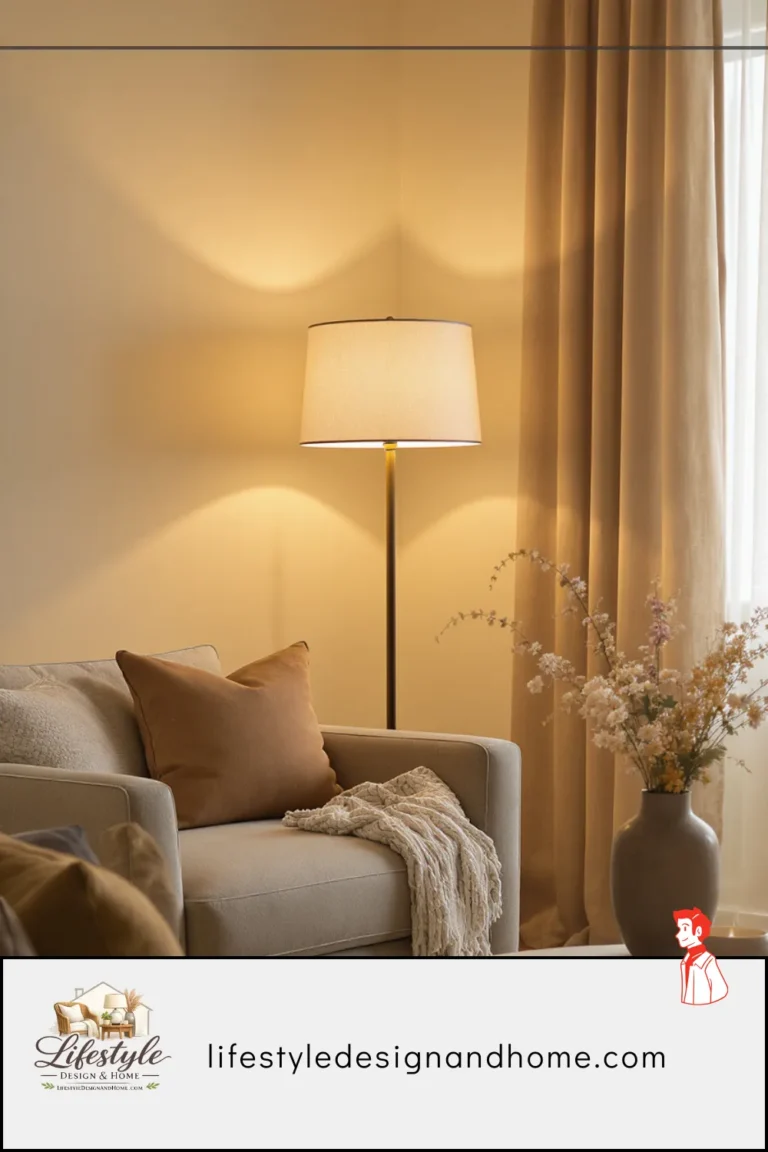
Living rooms: the reading position. Whether this is a dedicated reading chair, one end of the sofa, or a specific corner used for reading, the task lighting for that position should be positioned to put light on the page without glare and without illuminating the rest of the room at reading brightness. A swing-arm floor lamp beside the chair, adjustable to the reader’s position. A table lamp at the sofa end where reading happens. The shade positioned so the bulb is not visible from the primary opposite seating position — no one should be looking into the task lamp across the room.
Dining rooms: the table. The pendant above the dining table is both ambient and task — it illuminates the room’s social center and puts light on the food and the faces around the table simultaneously. The height matters specifically: too high and the pendant becomes an ambient source with limited task contribution. Too low and it creates glare for people looking across the table. 30 to 36 inches above the table surface is the range that puts warm light on the table without creating a barrier across it.
Kitchens: the counter work surfaces. Under-cabinet lighting — LED strips mounted to the underside of upper cabinets — illuminates the counter where food preparation happens without requiring the room to be at full overhead brightness for every kitchen activity. This is the task lighting investment with the most direct daily quality-of-life payoff in residential interiors. I installed under-cabinet lighting about three years ago and it changed how I use my kitchen more than any other single change.
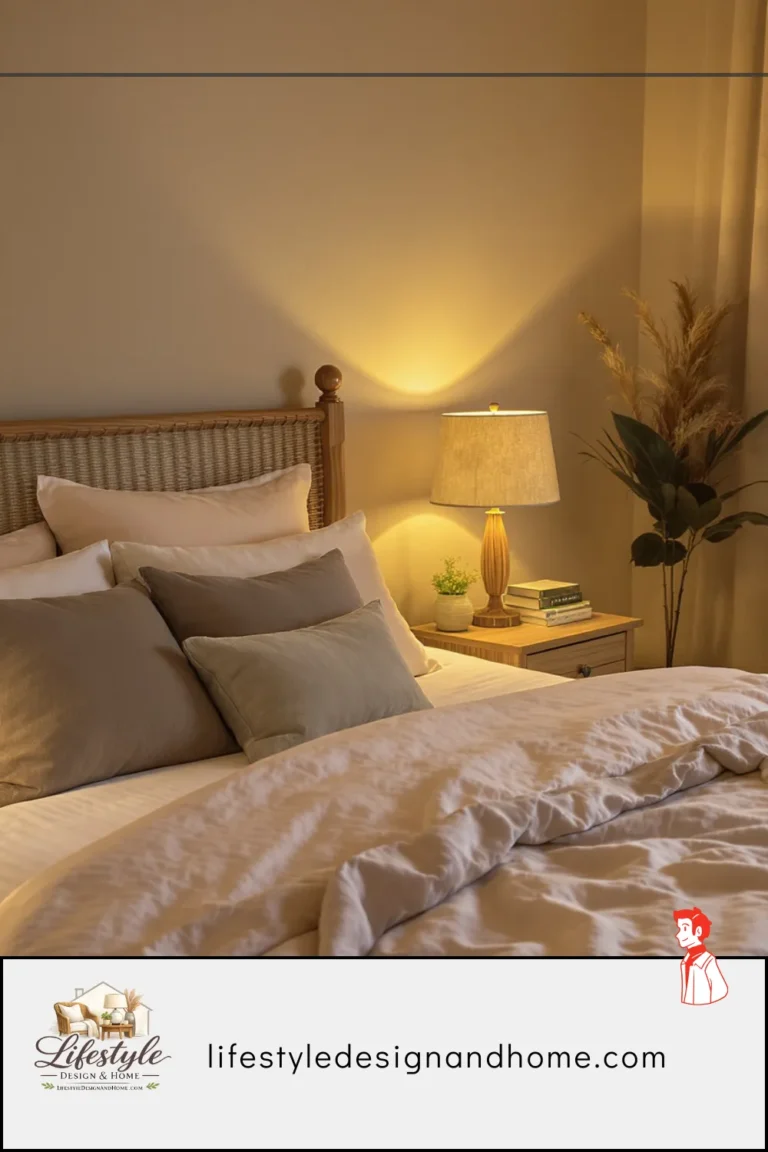
Bedrooms: the reading position in bed. Wall-mounted sconces on either side of the headboard, positioned so the light falls on the reading surface without illuminating the sleeping partner, are the most elegant solution. Plug-in sconces — available from multiple sources, requiring no electrical work — are the accessible version. A bedside table lamp with a directional shade is the simpler alternative.
Home offices: the desk surface. A quality desk lamp — adjustable arm, appropriate bulb temperature (3000K to 3500K for task work, where color accuracy matters more than the warmth of 2700K), positioned to illuminate the work surface without creating monitor glare — is the task lighting foundation of any home office.
The task lighting principle that most people miss: the task light should be positioned for the task, not for the room’s aesthetics. A reading lamp that looks beautiful but illuminates the reader’s face rather than the page is a decorative object, not a task light. Position first for function. Aesthetics are secondary.
Layer Three: Accent Lighting — The Layer That Makes It Feel Designed
Accent lighting is the layer that most people either skip entirely or confuse with decoration. It is neither. It is the layer that takes a room from correctly illuminated to genuinely atmospheric — from a room that has adequate light to a room that feels like it was designed for the people in it.
The specific accent lighting applications that produce the most consistent results:
The dark corner floor lamp. I have described this in several articles in this series because it is the single most universally effective accent lighting addition available to any living room. A torchiere or upward-facing floor lamp in the room’s darkest corner — the corner diagonally opposite the primary window — addresses the room’s most significant shadow zone, lights the ceiling and corner walls from below, and creates the depth of a lit far corner that makes the room feel larger and more complete. This is simultaneously accent and ambient, which is why it is so efficient.
Bias lighting behind the television. A warm LED strip adhered to the back of the television frame creates a soft halo of warm light around the screen that reduces eye strain by softening the contrast between the bright screen and the dark surrounding wall. It also transforms the television wall from a black rectangle in a wall to a warm-lit feature that integrates into the room’s overall lighting. Cost: $15 to $25 for a quality 2700K LED strip. Effect: immediate and significant.
Under-shelf and under-cabinet accent lighting. LED strips mounted to the underside of floating shelves, wall-mounted bookshelves, or kitchen upper cabinets illuminate the surfaces below them and cast a warm wash down the wall. The objects on the shelves become more interesting. The wall becomes a warm, lit feature. This is the technique that makes shelving look designed rather than installed.
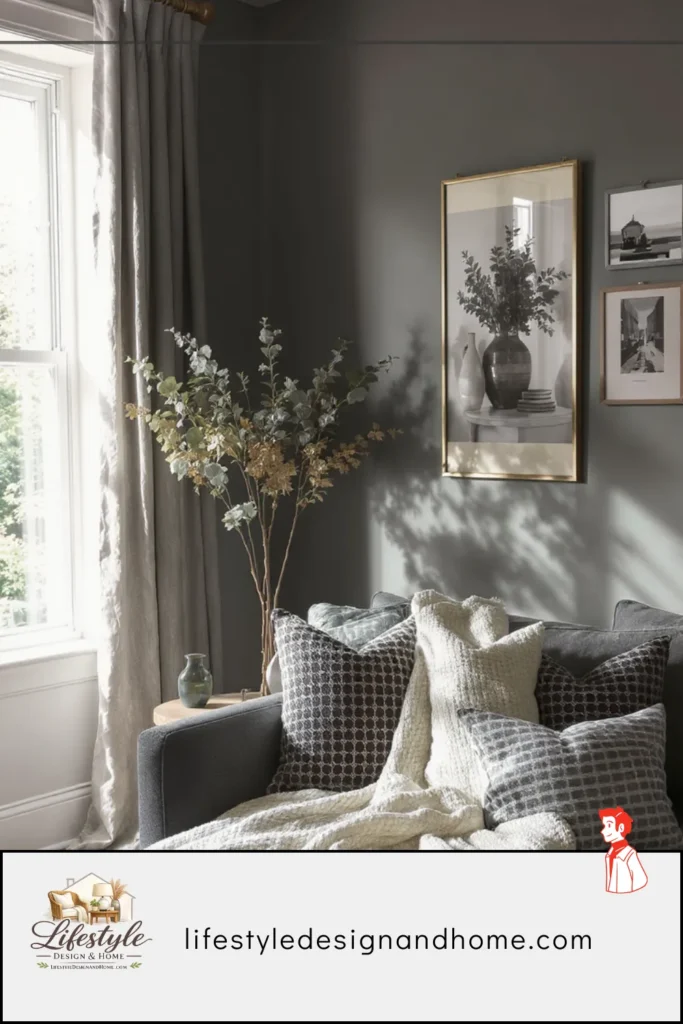
Picture lights. A small adjustable fixture mounted above a significant piece of art illuminates the art and spills warm light down the wall below it. The art becomes the room’s focal point not just visually but from a lighting perspective — it is the brightest spot on the wall, which is where the eye naturally goes. In rooms where a piece of art is the intended focal point, the picture light is what confirms and reinforces that intention.
Candles. I include candles in every lighting discussion because they are the accent light source that produces the quality no electric source fully replicates: the warmth of approximately 1800K combined with the constant gentle flicker that the eye reads as alive and present. Three pillar candles of different heights grouped on a coffee table or dining table create a warm focal point at table height that changes how faces look and how conversations feel. Flameless LED candles, which have improved dramatically, are the safe alternative for situations where open flames are impractical.
LED strips under bed frames, behind sofas, and beneath console furniture. Light at floor level — emerging from beneath a piece of furniture — creates the impression of floating and adds warmth to the lowest zone of the room. This is the technique borrowed from high-end hospitality design that has become accessible through inexpensive LED strip technology. The effect is atmospheric rather than functional: the furniture appears to hover, the floor glows warmly, the room has a quality of being lit from within rather than illuminated from above.
The Practical System: How to Build All Three Layers
Building a three-layer lighting system in a room that currently has single-source lighting is not a single-afternoon project — it is a series of additions that can be made incrementally, starting with the highest-impact changes and working toward the complete system.
The sequence I recommend, in order of impact per dollar spent:
Step 1: Replace all bulbs with 2700K, CRI 90+. Before any other change. Costs approximately $20 to $40 depending on the number of fixtures. Takes thirty minutes. The room is warmer immediately. Every subsequent addition builds on the warm foundation rather than fighting against a cool one.
Step 2: Install a dimmer on the overhead. $20 to $40 and fifteen minutes. The ambient layer is now controllable. The overhead can be dialed down to the background contribution it should be making rather than dominating the room.
Step 3: Add a floor lamp in the darkest corner. The highest-impact single fixture addition available. A torchiere or upward-facing floor lamp at 2700K in the room’s dark corner addresses the shadow zone, adds ambient depth, and begins the multi-source distribution that makes the room feel dimensional. Cost: $40 to $150 depending on the lamp’s quality.
Step 4: Add task lighting for the primary activity positions. Reading lamp beside the reading position. Bedside sconces or lamp in the bedroom. Under-cabinet lighting in the kitchen. Each task lighting addition serves a specific function and simultaneously contributes to the room’s ambient warmth when in use.
Step 5: Add accent sources. Bias lighting behind the television. LED strips under shelves or behind the sofa. Picture light above significant art. Candles on the coffee table. These additions are made as budget allows and as specific lighting needs are identified. They are the finishing layer — not urgent, but the difference between a room that is correctly lit and a room that feels genuinely designed.
The Color Temperature Discipline
Layered lighting fails — and fails specifically in a way that is hard to diagnose — when the light sources in a room are at different color temperatures.
I have been in rooms that had multiple light sources, all of them warm, and felt genuinely atmospheric. I have been in rooms with the same number of sources where the atmosphere never quite cohered, and in most cases the culprit was mixed color temperatures: a 2700K floor lamp fighting with a 3500K overhead and a 4000K task lamp, producing a room that felt warm in some zones and cool in others and never settled into a unified quality.
The discipline: all light sources in a room should be within approximately 300 Kelvin of each other. In practice, this means choosing 2700K for all residential living and sleeping spaces and staying consistent. A room where every source is 2700K feels unified and warm. A room with mixed temperatures feels unsettled in a way that is sensed before it is identified.
The one exception worth acknowledging: task lighting in spaces where color accuracy matters — home offices, kitchen counters, bathroom vanities — can benefit from slightly higher temperatures (3000K to 3500K) that produce cleaner, more accurate color rendering. In these cases, the task light should be on a separate circuit from the ambient and accent sources, used when the task requires it and off when the room is in its atmospheric mode.
The Evening Test
After implementing any lighting change — new lamp, repositioned fixture, new bulb, dimmer installation — I evaluate the result with what I call the evening test.
The evening test: at the primary use hour — typically between 7 and 10 PM — with all the room’s light sources in their intended evening configuration, sit in the primary seating position for ten minutes without adjusting anything.
Ten minutes is important. The first impression of new lighting is almost always an overcorrection from whatever came before. A room that was too bright tends to feel too dark immediately after dimming, even when the new level is correct. The ten minutes allow the initial reaction to settle and the actual quality of the lighting environment to register.
After ten minutes: stand up and look at the room from the doorway. The doorway view reveals the overall composition — the distribution of light sources, the presence or absence of dark zones, the warmth or coolness of the room’s overall character, the relationship between the near lamp and the far lamp and the dimmed overhead.
The specific things to evaluate:
Is any corner of the room still reading as a dark void? If yes, that corner needs addressing.
Is the overhead still the dominant source despite being dimmed? If yes, dim it further or turn it off entirely and evaluate whether the other sources are sufficient.
Is the room’s color temperature unified? If any source looks distinctly cooler or warmer than the others, it needs a bulb replacement.
Are faces in the primary seating positions illuminated from approximately seated height rather than from above? If the only source at face level is the overhead, a table lamp or sconce at the seating zone is needed.
Does the room feel like somewhere to be? This is the subjective culmination of all the objective evaluations — not a standard that can be precisely measured, but one that is immediately felt, and that when present confirms that the layering is working.
What the Layered Room Feels Like
I want to end with a description rather than a prescription, because the ultimate goal of layered lighting is an experience rather than a configuration — a quality of room that the specific sources and temperatures and positions are all in service of.
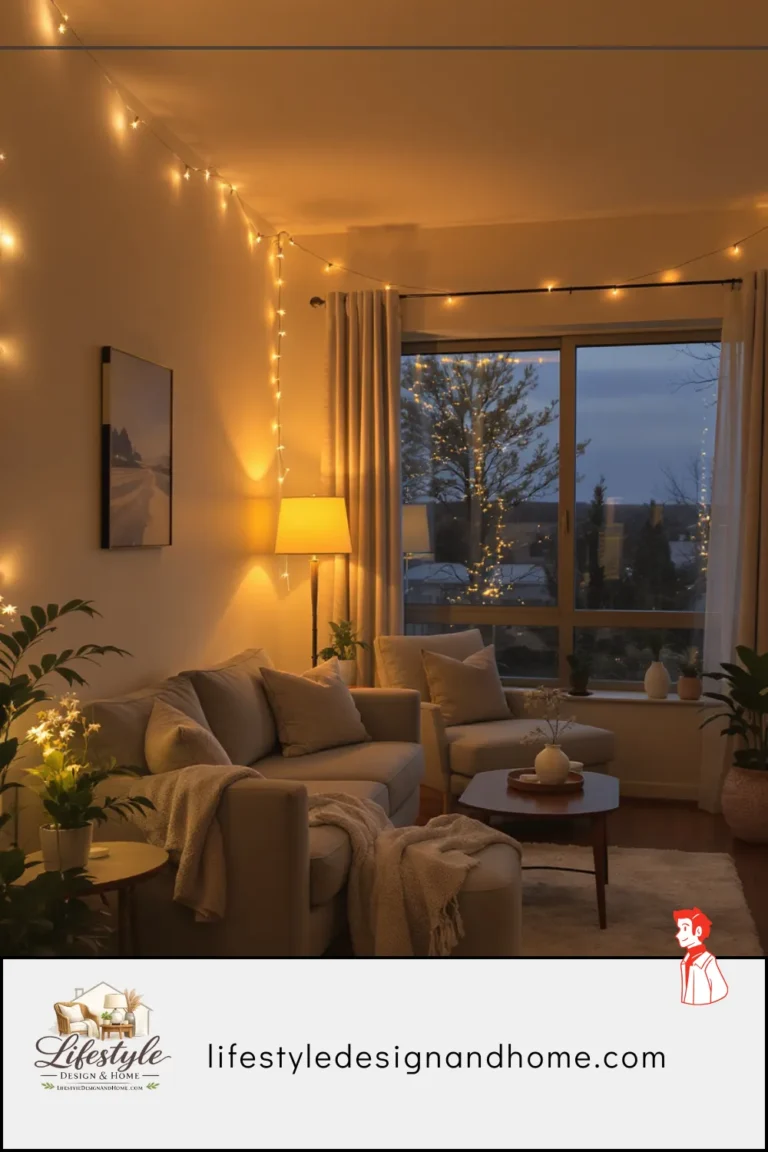
The layered room, at its evening hour, has a quality of warmth and depth that is immediately felt when you walk into it. The overhead is present but not dominant — contributing to the room’s general illumination without competing with the warmer, lower sources. The floor lamp in the corner sends its light toward the ceiling and the walls, filling the far zone of the room with diffused warmth. The table lamp at seated height puts warm light at the level where people are. The candles on the coffee table flicker gently at the room’s center.
The walls are warmer and softer than they are at noon under the overhead alone. The ceiling is slightly less precisely visible. The corners are less sharply defined. The room has the quality of being larger than it was at noon — not because anything has changed structurally, but because the lighting no longer reveals every edge with equal clarity.
The people in the room look warm. Their faces are lit from the side and below rather than from directly above, which is how faces look in firelight and in restaurants chosen for their atmosphere and in the evening light of rooms designed for the people in them.
The room feels like somewhere. Not like a room that is waiting for something to happen in it, not like a functional space that has been illuminated for occupancy, but like a room that knows what time it is and is doing what it is supposed to be doing at that hour.
That quality — which is what all the layers are in service of — is worth the price of a dimmer switch and a few lamps and one careful afternoon of replacing bulbs and positioning sources.
The dinner party I threw in my mid-twenties looked clinical in the photographs.
The parties I throw now look warm.
Same apartment. Different layers.
The Photograph, Revisited
I looked at that photograph from the mid-twenties dinner party again recently. The clinical quality is still there — the flat overhead light, the unlit faces, the food that looks like it was photographed in a laboratory.
But I look at it now knowing exactly what was wrong and exactly what it would have taken to fix it. A dimmer on the overhead. A warm bulb in the pendant and repositioned over the actual table. A floor lamp in the corner that was dark. Candles.
Four changes. Each of them simple. None of them particularly expensive. Together they would have produced a room that looked like an evening rather than an office.
The guests at that party had a fine time. I know this because some of them are still friends. But the record the evening left — the photograph — shows a room that was doing less than it could have done for the people in it.
The layers do the work. Without them, the room just holds the people. With them, the room does something for the people.
That is the difference. That is what all the layers are for.eyond aesthetics.