The Afternoon That Changed How I Think About Small Spaces
A few years ago, I helped a friend rearrange her living room for the third time in six months.
Same furniture. Same apartment. Same 13-by-11-foot room with one window, a radiator she couldn’t move, and a doorway positioned in the most architecturally inconvenient place imaginable. She’d tried everything she could think of — sofa against the long wall, sofa against the short wall, television in the corner, television on the wall. Every arrangement felt wrong. The room always felt cramped. She’d started to accept that some rooms are just too small to be comfortable and had begun researching storage ottomans with the defeated energy of someone who’s given up on beauty and is now just trying to survive.
We spent about two hours in that room together. We didn’t buy anything. We didn’t repaint. We moved things around, stood in the doorway, moved things again, argued about whether the sofa was six inches too far left, and eventually landed on an arrangement that made her stop in the doorway and say, genuinely surprised, “It feels like a different room.”
It was the same room. The furniture was the same. The window was still in the same place. The only thing that changed was the logic behind the decisions — and that logic is exactly what this guide is going to give you.
What follows isn’t a list of vague tips. It’s an actual step-by-step process, the same one I walked my friend through, that you can apply to your living room today. We’re going to start before you move a single piece of furniture, work through the arrangement methodically, and end with the finishing decisions that take a good layout and make it feel intentional.
Before You Move Anything: The Three Questions You Must Answer First
Most furniture arrangement mistakes happen because people start moving things before they’ve thought clearly about what the room needs to accomplish. They push the sofa one direction, realize it blocks the doorway, push it another, realize it’s too far from the television, and end up in a cycle of frustration that ends with everything roughly where it started.
Stop before you touch anything. Answer these three questions first.
Question 1: What is this room’s primary job?
Is this a room primarily for watching television? For conversation and entertaining? For both equally? Does anyone work or read in here regularly? Do children play in this space? The answer shapes every subsequent decision. A room built around conversation has a completely different arrangement logic than a room built around a screen — and trying to optimize for both without acknowledging the tension between them is one of the most common reasons living room layouts fail.
In most homes, small living rooms serve double or triple duty: watching television, hosting friends, reading, sometimes working. That’s fine. But you need to identify the primary use and arrange for that first, then accommodate the secondary uses around it. Everything can’t be the priority.
Question 2: Where is your focal point?
Every well-arranged room has one dominant visual anchor — the thing the eye naturally moves toward when you walk in, and the thing the furniture arrangement logically points toward. In most living rooms this is one of three things: the television, a fireplace, or a significant window or view. Some rooms have two of these, which creates choices. Some rooms seem to have none, which means you’ll need to create one.
Identify your focal point before you arrange anything. Your seating should face it or angle toward it. Your layout should make the focal point feel like the intentional center of the room, not an afterthought.
Question 3: Where are your fixed constraints?
Walk the room and note everything you cannot move or change: doorways and the swing radius of doors, windows and where natural light enters, electrical outlets and their locations, any fixed features like fireplaces or radiators, the positions of cable or television connections on the wall. These are your constraints and they form the invisible skeleton of every possible furniture arrangement. A sofa can’t block a door. The television needs to be near a connection point. Seating needs to be close enough to conversation to be functional.
Map these constraints — even just a rough sketch on paper — before you start. You’ll save hours of physically moving heavy furniture.
Step 1: Measure the Room and Your Furniture (Actually Do This)
I know. You’re going to skip this step. Everyone wants to skip this step. It feels like homework before the fun part, and the temptation to just eyeball things is enormous.
Don’t eyeball things.
Measuring takes twenty minutes and prevents the specific misery of falling in love with an arrangement only to discover the sofa is two inches too long for the wall, or the coffee table you ordered won’t fit with any meaningful walking space around it. Measure your room at its widest and longest points. Measure every doorway. Measure every piece of furniture you’re working with: length, depth, and height.
Then — and this is the move that will save you the most physical effort — sketch the room on graph paper or use one of the free room planning apps available online (Roomstyler, Magicplan, and IKEA’s room planner are all free and good). Let each square on the graph paper represent one foot. Draw the room’s outline. Mark the doors, windows, and fixed features. Cut out small paper rectangles to represent your furniture at the same scale.
Now you can try every possible arrangement in five minutes with paper instead of five hours with your actual back.
The non-negotiable clearances to know before you start:
- Traffic pathways should be at least 30 to 36 inches wide — the minimum width for comfortable movement
- Conversation groupings work best when seating faces each other within 8 feet — beyond that, you’re raising your voice
- Coffee table to sofa should be 14 to 18 inches — close enough to reach a drink, far enough to cross your legs
- Television viewing distance for most screens is 1.5 to 2.5 times the diagonal screen size — a 55-inch TV works best viewed from 7 to 11 feet away
Step 2: Establish Your Focal Point and Orient the Room Around It
With your measurements done and your constraints mapped, you’re ready to start placing furniture — and the first piece to place is always the seating that anchors your focal point.
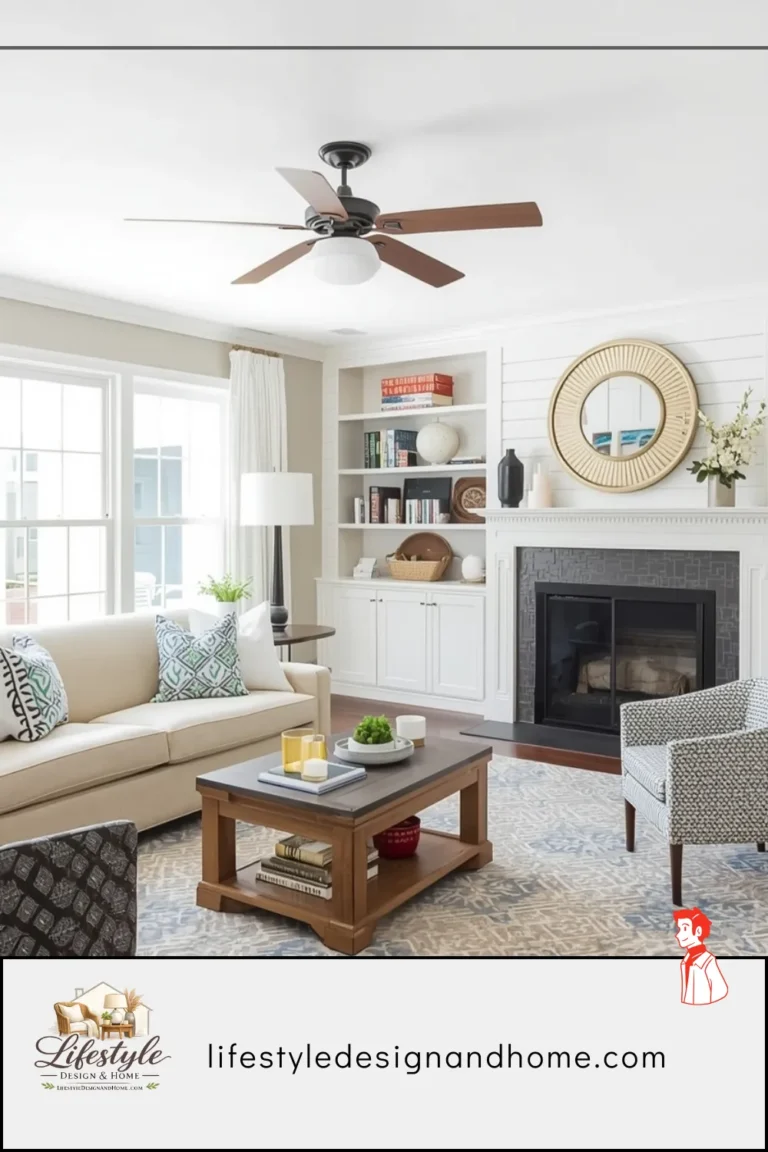
If your focal point is a fireplace: position your primary sofa directly facing it, or at a slight angle if the room geometry makes straight-on awkward. The fireplace should be the thing you look at when you sink into the sofa.
If your focal point is a television, position the sofa so the screen sits roughly at eye level when seated, centered in the viewer’s sightline. Avoid placing the television in a corner if you can — corner TVs require people to sit at awkward angles to view them properly, which means nobody ever quite sits comfortably and the room always feels slightly off.
If your focal point is a view or a significant window: the best rooms with a view-as-focal-point often place the primary seating facing the window at an angle, so occupants can enjoy the view while still facing each other in conversation. A sofa directly in front of a window with its back to the glass is a common placement — it doesn’t maximize the view, but it can work if the window light isn’t too harsh.
If you have no clear focal point: create one. A large piece of art centered on the longest wall, well-lit and hung at the right height, can serve as a focal point just as effectively as a fireplace. An oversized mirror. An architectural feature you create with paint or shelving. The room needs something to organize itself around — without a focal point, every wall looks equally important, and the eye never knows where to rest.
Once you’ve identified the focal point, place your primary seating — the sofa, the longest piece, the anchor — in relation to it. Everything else builds from here.
Step 3: Create Your Conversation Zone (The Core of the Layout)
This is where most small living room arrangements either succeed or fail, and it’s where the most important counterintuitive decision happens.
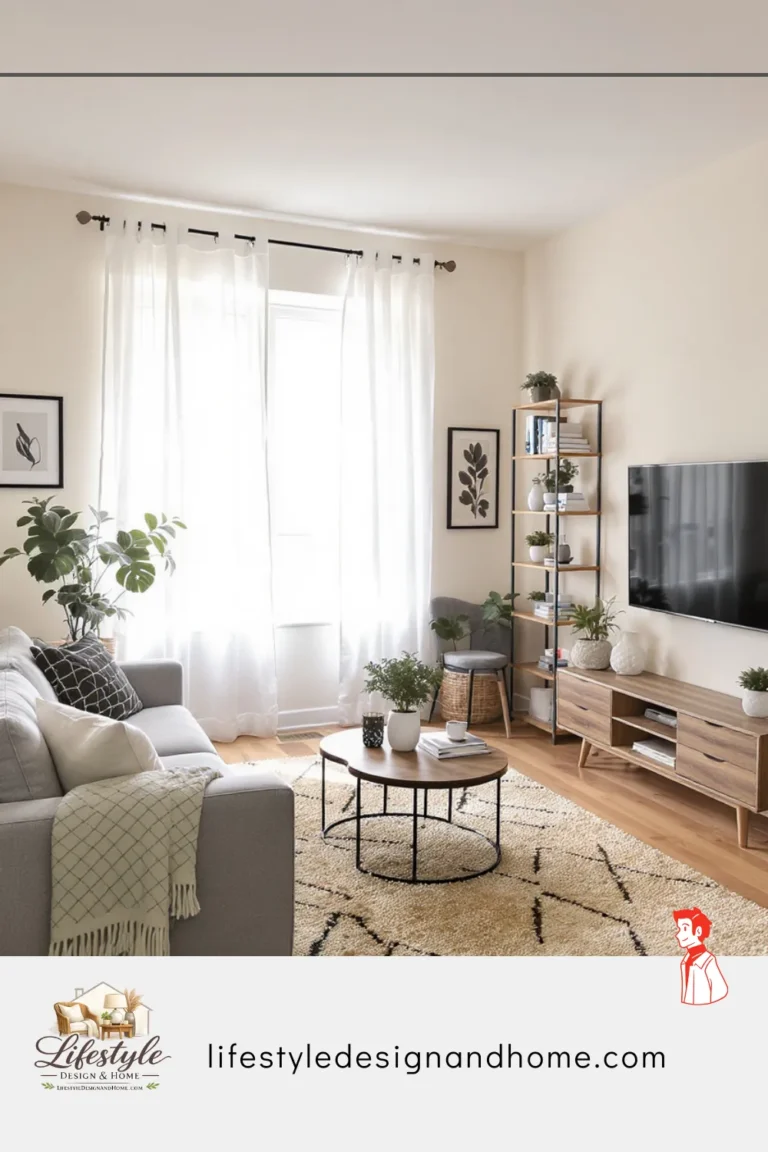
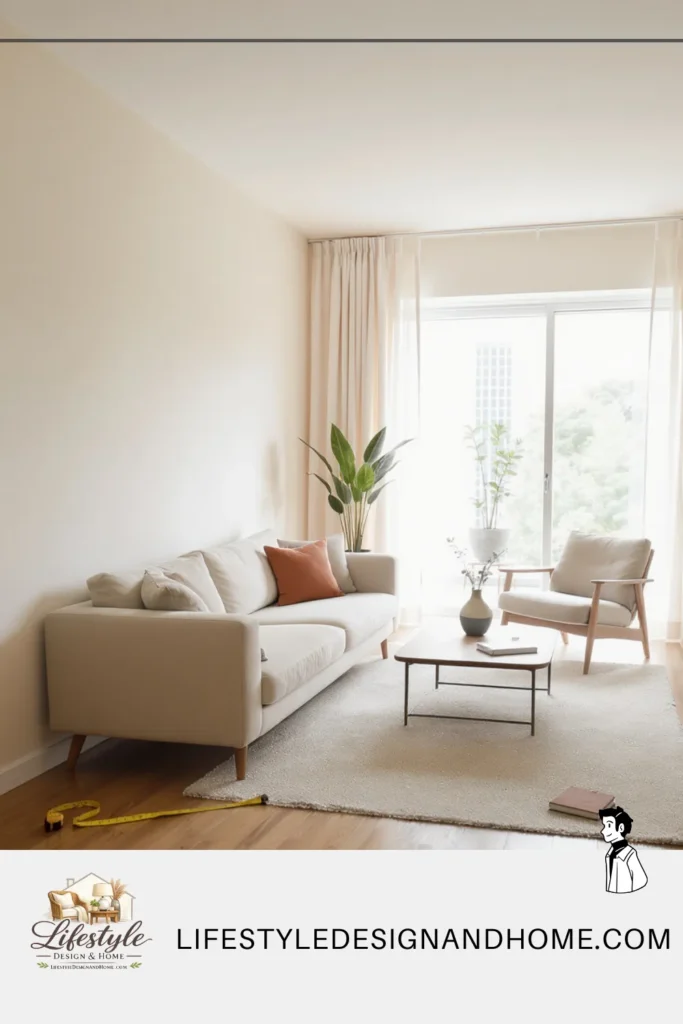
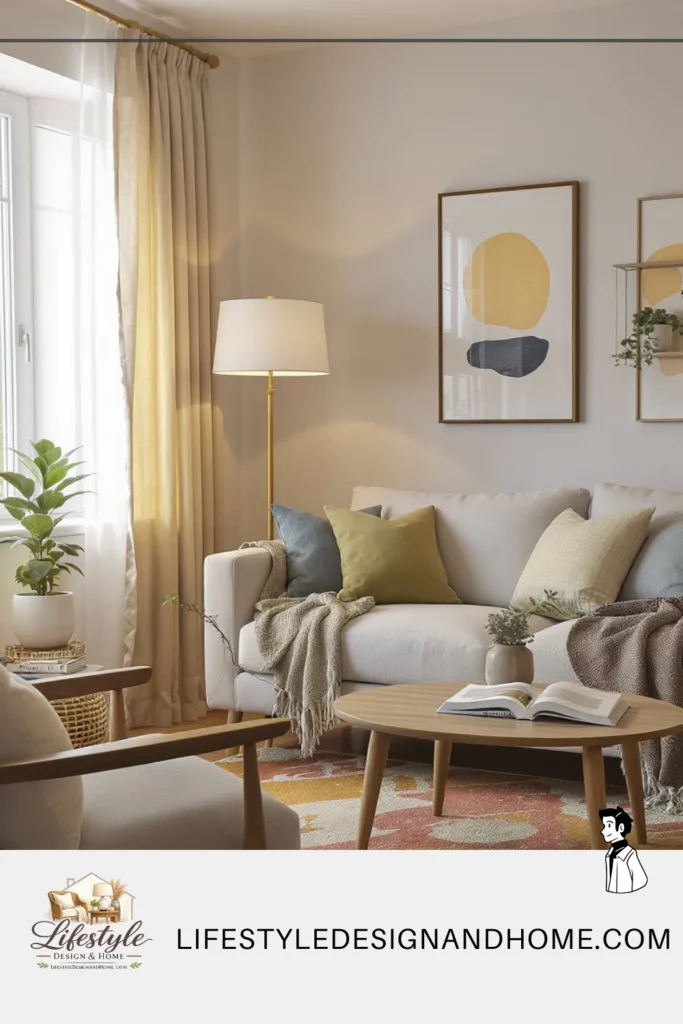
Pull the sofa away from the wall.
I know we covered this in the mistakes article, but it bears repeating here because it’s the decision people most reliably resist when doing this process for the first time. Eight to twelve inches of space between the back of the sofa and the wall behind it will not steal floor space in any meaningful way. What it will do is create a sense of depth that transforms the room — the furniture looks intentional, the space behind the sofa reads as a visual breathing room, and the arrangement suddenly has the quality of having been designed rather than stored.
Now build the conversation zone:
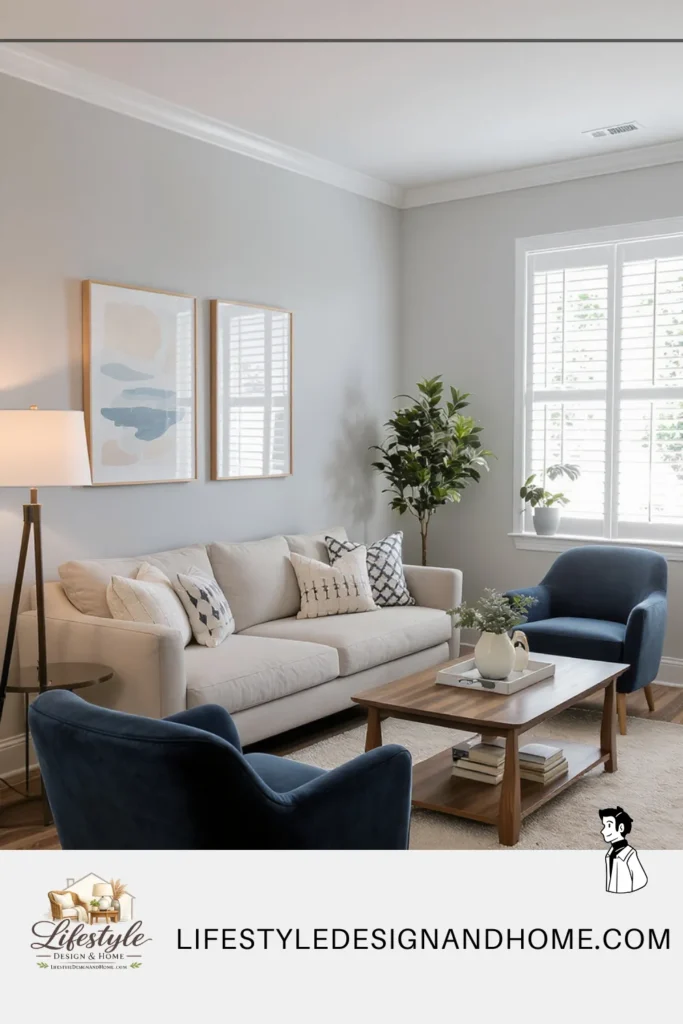
The classic U-shape: Sofa facing two armchairs or a loveseat, coffee table anchoring the center. This is the most functional conversation arrangement and it works in the widest variety of small rooms. The “mouth” of the U can face the focal point — the television or fireplace — so the arrangement functions for both conversation and viewing.
The L-shape: A sofa paired with a chaise or sectional configured as an L. Works well in rooms where one wall is significantly longer than the others and the room naturally wants a corner anchor. The risk in small rooms is that L-shaped sectionals can over-fill the space — measure carefully before committing.
Parallel seating: Two sofas or a sofa and a loveseat facing each other across a coffee table. Works well in longer, narrower rooms. Creates a clear conversation lane and can feel very elegant. Doesn’t work as well in square or nearly-square rooms.
Angled furniture: Placing pieces at a 45-degree angle to the walls is occasionally the right answer in awkward rooms with difficult geometry — particularly rooms with doorways in corners or rooms that are nearly square but not quite. An angled arrangement creates diagonal sight lines that can make a room feel longer and more dynamic. Use this sparingly and only when the room’s geometry genuinely calls for it.
For truly tiny rooms where a full conversation grouping isn’t possible, a single sofa plus one well-placed armchair or accent chair is perfectly valid. The goal is to define the zone with what you have, not to force furniture in that doesn’t fit.
Step 4: Place the Coffee Table at the Right Scale and Distance
The coffee table is the piece that ties the seating arrangement together — and it’s where scale mistakes most often happen.
Too small: the seating pieces look disconnected, the arrangement lacks a visual center, and the coffee table looks lost. Too large: traffic becomes impossible, the room feels cramped, and nobody can cross the room without doing an obstacle course.
The guidelines: your coffee table should be roughly two-thirds the length of the sofa it’s serving. If your sofa is 90 inches long, a 60-inch coffee table is in the right range. For round coffee tables, aim for a diameter that equals about half the sofa’s length. Leave 14 to 18 inches between the table edge and the nearest seating — this is your “reach a drink without stretching” zone, and it’s also what allows people to move between sofa and standing without bumping their shins.
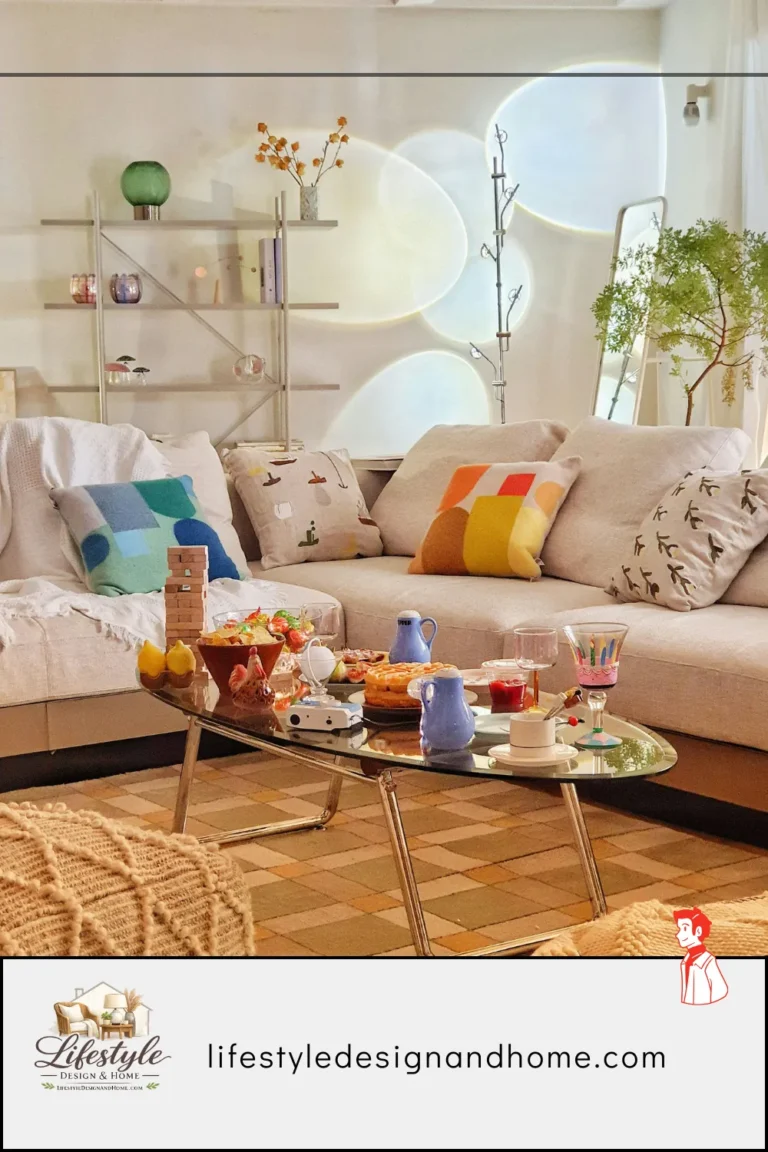
If the room is so small that a standard coffee table crowds the space uncomfortably, there are good alternatives: a pair of small ottomans that can be pushed together when needed and separated to create additional seating; a round side table used as a coffee table (rounds take up less visual space); or a nesting table set that can expand and contract with your needs.
One often-overlooked factor: the coffee table’s visual weight. A glass-top table or an open-frame metal table is visually lighter than a solid wood block — you can see through and under it, which reveals floor and makes the room read as more open. In small rooms with limited light, a glass or lucite coffee table is genuinely one of the most effective single-piece purchases you can make.
Step 5: Position the Television (Without Letting It Dominate)
Television placement causes more living room layout arguments than almost anything else in interior design — and in small rooms, the stakes are higher because there are fewer wall options and every decision affects every other decision.
Eye level matters more than anything else. The center of your television screen should be at eye level when you’re seated — which in most homes means the center of the screen is approximately 42 to 48 inches from the floor. This is lower than most people mount their televisions. The habit of mounting the TV high on the wall — at standing eye level or above — is one of the most common television placement mistakes, and in a small room it’s particularly damaging because it forces you to either crane your neck uncomfortably or angle your seating in ways that compromise the arrangement.
Avoid corners. A corner-mounted television forces everyone in the room to sit at an angle to view it. It also wastes corner space that could be doing more useful work as a tall plant or floor lamp position. There are rooms where a corner placement is genuinely the only option — but exhaust the alternatives first.
Manage glare before it manages you. Position the television on a wall where windows are to the side, not behind the viewer (which creates glare on the screen) and not behind the television (which creates uncomfortable contrast between screen and bright background). If your room has windows in problematic positions relative to your television wall, blackout or light-filtering curtains are a legitimate design solution, not a compromise.
Floating vs. furniture-mounted. In small rooms, a wall-mounted television is almost always the better choice. It eliminates the media console, which frees up floor space. If a media console is necessary for storage, opt for a low-profile unit — something 18 to 24 inches high that doesn’t compete visually with the seating arrangement and keeps the lower half of the room feeling open.
Step 6: Add the Supporting Pieces — In Order of Importance
With the sofa, chairs, coffee table, and television placed, you have the core layout. Now add the supporting pieces in order of functional importance — not aesthetic preference.
Side tables: Every seat should have access to a surface within easy reach — somewhere to put a drink, a book, a lamp. This doesn’t mean every seat needs its own dedicated side table. A side table between two chairs works. An end table at the arm of the sofa that’s also accessible from an adjacent chair is efficient. The goal is functional coverage, not symmetry.
Storage furniture: If you need storage — and in most small living rooms you do — choose pieces that work vertically. A tall bookshelf uses a small footprint on the floor and uses wall height that would otherwise go empty. A media console that doubles as storage. An ottoman with internal storage that also serves as a coffee table. Every piece of storage furniture in a small room should be justifying its floor space by serving multiple functions.
Accent chairs: These are the most moveable, flexible pieces in the room — chairs that can be pulled into the conversation zone when needed and pushed to the perimeter when not. In a small room, an accent chair that can genuinely float between functions is more valuable than one that has to stay in one place to look right.
Plants: At least one tall plant in an underused corner will do more for the atmosphere of a small room than almost any decorative purchase. Plants in corners draw the eye into parts of the room that would otherwise feel like dead space, add vertical interest, and introduce an organic quality that makes designed spaces feel livable rather than staged.
Step 7: Establish Traffic Flow and Test It Honestly
Before you declare the arrangement finished, walk it. Literally walk through every route someone might take through the room.
Walk from the doorway to the sofa. Walk from the sofa to the window. Walk through the room to reach a door or hallway on the other side. Ask a friend or family member to walk through while you watch — their path through the room will tell you immediately whether your traffic flow is natural or awkward.
The clearances to verify:
- At least 30 inches of clear passage on main traffic routes through the room
- At least 18 inches of clearance around all sides of the coffee table (for moving from seated to standing)
- Door swing radius is completely unobstructed — open every door in the room and confirm nothing is in its arc
- The route to the most-used entry point is direct and doesn’t require navigating around furniture
If you find yourself body-checking the coffee table every time you walk across the room, the coffee table is in the wrong position or is the wrong size. If guests have to squeeze between the sofa and the wall to reach their seat, the sofa is too close to the wall. Traffic problems are not things to accept and adapt to — they’re signals that one specific piece is in the wrong place, and fixing it is usually simpler than it feels.
Step 8: The Finishing Layer — Lighting, Rugs, and the Details That Seal It
You have a functional, well-proportioned furniture arrangement. Now the finishing layer is what makes it feel like a room someone actually wants to live in.
The rug: Place it now that the furniture is finalized. Use the arrangement as your guide — the rug should be large enough that the front two legs of every seating piece sit on it. If your current rug is too small for the arrangement you’ve created, this is the moment to acknowledge that and plan for a replacement. A correctly-sized rug is one of the highest-return investments in a small room. Don’t skip it or substitute a smaller rug just because it’s what you have.
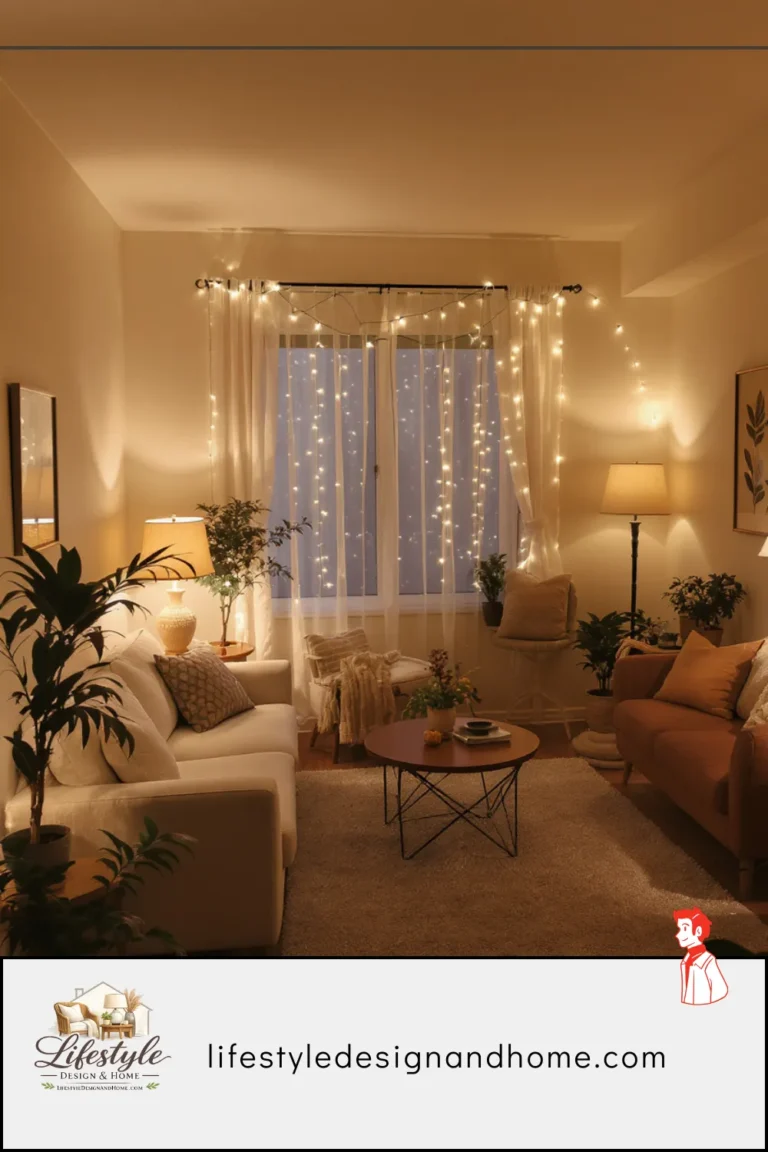
Lighting: Add at least two light sources in addition to your overhead. A floor lamp in the corner that gets least natural light will open that corner dramatically. Table lamps on side tables put warm light at seated eye level, which is where light does the most flattering, spacious-feeling work. If your overhead is on a dimmer, the room can shift from fully illuminated for practical tasks to warmly lit for evenings — and that flexibility is worth more than any decorative purchase.
Art placement: Hang art higher than feels instinctive — the center of a piece or a gallery wall grouping should be at approximately 57 to 60 inches from the floor, which is gallery standard and which places art at natural standing eye level rather than seated eye level. In rooms with high ceilings, go higher. In rooms where you want to draw the eye up to create a sense of height, hang art high.
The edit: Once everything is in place, remove three things. Look at the room with fresh eyes and identify the three pieces — accessories, decorative objects, extra pillows, whatever — that aren’t essential and are contributing to visual clutter. Take them out. Live with the cleaner version for a week. You will almost certainly not miss any of them, and the room will feel calmer and larger.
The Most Common Arrangement That Works in Almost Any Small Room
After all of this, if you’re looking for a single starting-point configuration that works reliably in small rectangular living rooms, here it is:
Sofa floated 8–10 inches from the longer wall, facing the focal point (television or fireplace). Two accent chairs on either side of the focal point, angled slightly inward toward the sofa. Coffee table centered between sofa and focal point, two-thirds the length of the sofa. A large rug (8×10 minimum) grounding the entire grouping. Side table at one or both ends of the sofa. Floor lamp in the back corner behind the sofa. Television or focal point wall as the visual anchor. Curtains mounted at ceiling height on the window wall, hanging to the floor.
This arrangement works because it has a clear center, defined edges, logical traffic flow, and a focal point that every piece is oriented toward. It can be adapted for narrower rooms by making the sofa the only seating facing the focal point and placing a chair or bench perpendicular to it on one side. It can be adapted for nearly square rooms by angling the sofa 45 degrees and building a more dynamic diagonal arrangement.
It is not the only arrangement that works. But it’s where I’d start — and nine times out of ten, it’s within a few inches of where you end up.
Your Step-by-Step Checklist
Before you start:
- Identified the room’s primary function
- Located the focal point (or decided where to create one)
- Mapped all fixed constraints: doors, windows, outlets, radiators
- Measured room dimensions and all furniture pieces
- Sketched the room on paper or in a planning app
Core layout:
- Primary seating placed in relation to focal point, floated 8–12 inches from wall
- Conversation zone established with seating facing or angling toward each other
- Coffee table placed 14–18 inches from sofa at two-thirds the sofa’s length
- Television mounted or placed at seated eye level (center at 42–48 inches from floor)
- All main traffic paths are at least 30 inches wide
Supporting pieces:
- Every seat has access to a surface within reach
- Storage furniture works vertically, not just horizontally
- No pieces on the floor that don’t earn their place
Finishing layer:
- Rug large enough for front legs of all seating to sit on
- At least three light sources at varying heights
- Art hung at gallery height (57–60 inches to center)
- Room edited — three non-essential objects removed
- Curtains at ceiling height, panels to floor, rod extending 6–8 inches past window frame on each side
Final Thought
Arranging a small living room well is not a talent people are born with. It’s a process — one that starts with understanding what the room needs, proceeds through a sequence of decisions that build on each other, and ends with the kind of space that feels both intentional and livable.
The arrangement that works for your room is in there. It exists. You just have to find it — and now you know exactly how to look.
Start with the questions. Measure. Find the focal point. Float the sofa. Build the zone. Test the flow. Finish the details.
Same room. Different life.